
Before you start
- The public HTTPS listening URL for the mount or channel you want to use.
- Access to the website where you will replace or add a player.
Set it up in three steps
Find your public audio URL
In your control panel or hosting account, locate the listening URL for your station’s mount or channel. Use the direct audio address rather than the panel login, DJ connection, or station homepage. Ask your host if the address is unclear.
Add it to your station workspace
Create a stream in Web Radio Players and test it before saving. For multiple channels, add each stream separately within your plan’s quota.
Replace the existing widget
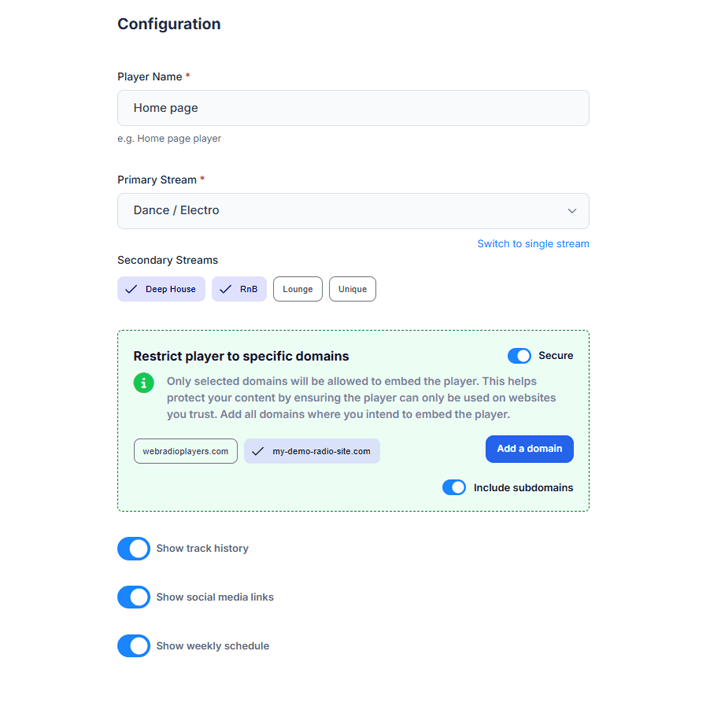
Create a player, assign the stream, and copy the completed embed. Replace the old widget on a test page first, then check the public page on desktop and mobile.
No broadcasting migration required
Your DJs, automation, encoder settings, and listener capacity stay with your existing panel and host. You are changing the player visitors use on your website.
One place to manage the listener experience
Choose branding and player features in the dashboard. If you move hosts later, update the saved stream URL and test playback again. Features such as metadata and artwork depend on the information available from the source.
- Keep one saved configuration consistent across approved websites.
- Offer additional streams on Pro and above.
- Use a separate hosted page if you also want a dedicated station URL.
Check before sharing
- Press Play on the published page, then test on a phone as well as a desktop. Browsers generally require a listener action before starting audio.
- If audio fails, re-test the direct HTTPS stream in the dashboard. A working station website URL is not necessarily an audio stream URL.
- If audio works but the title or artwork is missing, check the metadata supplied by your stream. Audio playback and metadata availability are separate checks.
Step-by-step documentation
Follow the full walkthrough
Need help with your setup? Contact support.